How to Digitise Documents in Feltiv
If you're looking to convert scanned or paper-based documents into editable, searchable, and well-structured digital text without losing accuracy or formatting, you can use Feltiv's Digitise Documents solution.
To create a Digitise Documents project, click on '+ NEW' menu, you will be taken to ‘Start a Project’ page where you will find different project types.
Once you select 'Digitise Documents' and click on ‘Start Project’, following would be the steps:
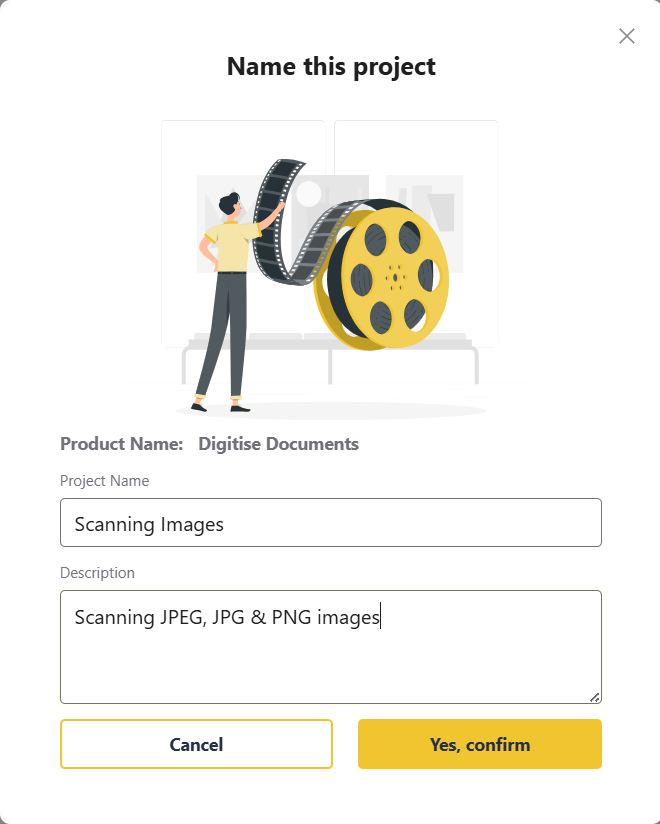
A pop-up will be opened to give the project a name and short description about the project. Once entered, click on "Yes, confirm".
A pop-up will be opened to give the project a name and short description about the project. Once entered, click on "Yes, confirm".
Next comes the Service Selection tab, where you have to select a model and choose the OCR without Human QC service.
[[TO VERIFY - Confirm the service name "OCR without Human QC" is still what the Service Selection tab shows for Digitise Documents. Delete this line afterwards.]]
On the upload content tab, you can upload up to 20 files in one project. To upload your files, you have 4 options:
- Local device file
- OneDrive
- Amazon S3
- Azure BLOB
[[TO VERIFY - This list shows four upload sources, but Feltiv now offers five: device, OneDrive, Google Drive, Amazon S3 and Azure BLOB. Confirm Google Drive is available for Digitise Documents and update the list. Delete this line afterwards.]]
Each file must be under 2 GB. You can upload up to 20 files at a time from your device, OneDrive, Google Drive, Amazon S3 or Azure BLOB. The supported file types are listed in the upload panel.
Once you’re done selecting your files, you can click on continue to upload and process the content. Once Feltiv is done uploading it will take you to the project details screen where you can check the status of the project.
Here inside project details page you can see the below info:
- Project name
- Source language
- Project's start date
- Overall status of the project
- Number of Uploaded files
You can also check the progress of each file and check the detailed status by clicking on the content progress. Once the file is processed you can download the delivery content by clicking on download icon.
To download the output, choose Text or Text with MetaData under Select Type. The file is downloaded as TXT. Your credit balance must be above zero to download.
This is how the Digitise Documents appears. You can see that the text has been accurately extracted.
Related articles
- Uploading files to a Feltiv project
- Downloading your output